
Table of Contents
- Why Home Insulation Efficiency Matters
- Identify Where Your Home Is Losing Heat
- How to Reduce Heat Loss in a House
- Loft Insulation Benefits and Thickness
- Draught-Proofing Doors and Windows
- Simple Steps You Can Take Now
- When to Call a Professional
- Conclusion
- Frequently Asked Questions
Last Updated: October 17, 2026
Why Home Insulation Efficiency Matters
How to improve home insulation efficiency is one of the most effective ways to reduce energy bills and increase comfort in your home. Poor insulation lets heat escape during winter and allows warm air to seep in during summer. This means your heating system works harder than it needs to, driving up costs and reducing your comfort.
Most homeowners don’t realise how much heat their homes lose through walls, roofs, and gaps around doors and windows. A poorly insulated home can waste up to 30% of its heating energy. The good news: improving insulation doesn’t always require major renovation work. Many simple steps deliver real results.
Understanding your home’s insulation is the first step toward lower bills and better comfort. Whether you need professional guidance or want to tackle improvements yourself, understanding your home’s insulation is the first step toward lower bills and better comfort.
Improving home insulation efficiency reduces heating costs, increases comfort, and lowers your carbon footprint. Start by identifying where heat escapes, then prioritise the biggest problem areas.
Identify Where Your Home Is Losing Heat
Finding heat loss in your home requires a systematic approach. Start by walking through each room and feeling for draughts near windows, doors, and skirting boards. Cold spots on walls often indicate missing or damaged insulation behind them.
Look for these common problem areas:
- Windows and doors with visible gaps or loose frames
- Loft spaces that feel cold or have visible gaps in insulation
- External walls that feel cold to the touch
- Pipes running through unheated spaces
- Letterboxes and ventilation grilles without covers
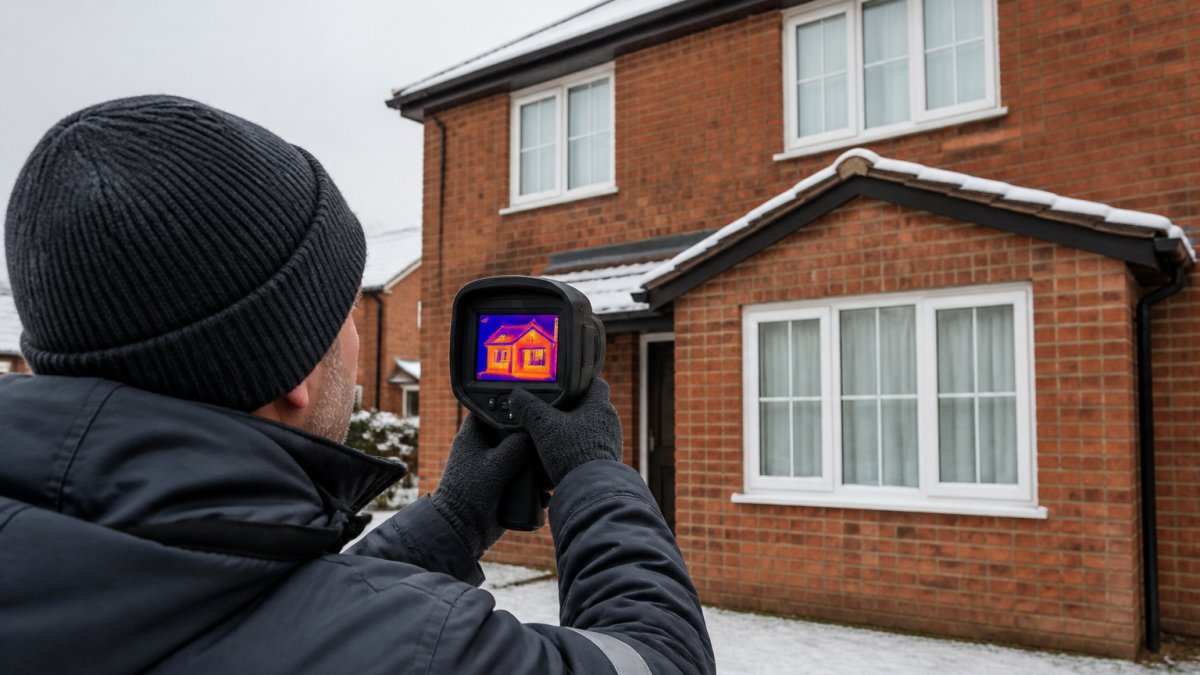
You can also request a professional energy assessment. Many engineers use thermal imaging cameras to show exactly where heat escapes. This visual evidence helps you prioritise spending on the areas that matter most.
:::pro tip
On a cold day, hold a lit candle near window frames and door seals. If the flame flickers or moves, air is leaking. Mark these spots for attention.
How to Reduce Heat Loss in a House
Reducing heat loss requires targeting the biggest culprits first. Most homes lose heat through the roof, external walls, windows, and doors. Focus your efforts there for the biggest impact on your bills.
Cavity Wall Insulation
Cavity wall insulation fills the gap between the inner and outer layers of your external walls. Many homes built between the 1920s and 1990s have unfilled cavities. Filling them stops heat flowing out through the walls.
The process involves injecting insulation material (usually mineral wool or polystyrene beads) into the cavity through small holes drilled into the outer wall. A professional surveyor checks first to ensure your walls are suitable. Most homes are, but some older properties or those with existing damp issues may not be candidates.
Installation typically takes one day and causes minimal disruption. Once complete, you’ll notice warmer walls and lower heating bills. This improvement works year-round: it keeps heat in during winter and helps prevent overheating in summer.
Major Heat’s Gas Safe registered engineers can assess whether your home is suitable and arrange installation through trusted partners.
Pipe and Tank Insulation
Exposed pipes and hot water tanks lose heat as water travels through them. Insulating these components is simple, cheap, and effective.
Pipe insulation uses foam sleeves that slide over existing pipes. Tank insulation wraps around your hot water cylinder. Both are easy to install yourself or have a professional fit them. The materials cost just a few pounds, but the savings add up quickly.
Insulated pipes deliver hotter water to taps and showers, meaning less wasted water while you wait for hot water to arrive. Insulated tanks keep water hot longer, so your boiler runs less frequently.
Never insulate pipes in unheated spaces (like lofts) without checking for existing lagging first. If pipes are already wrapped, inspect them for damage before adding more insulation.
Loft Insulation Benefits and Thickness
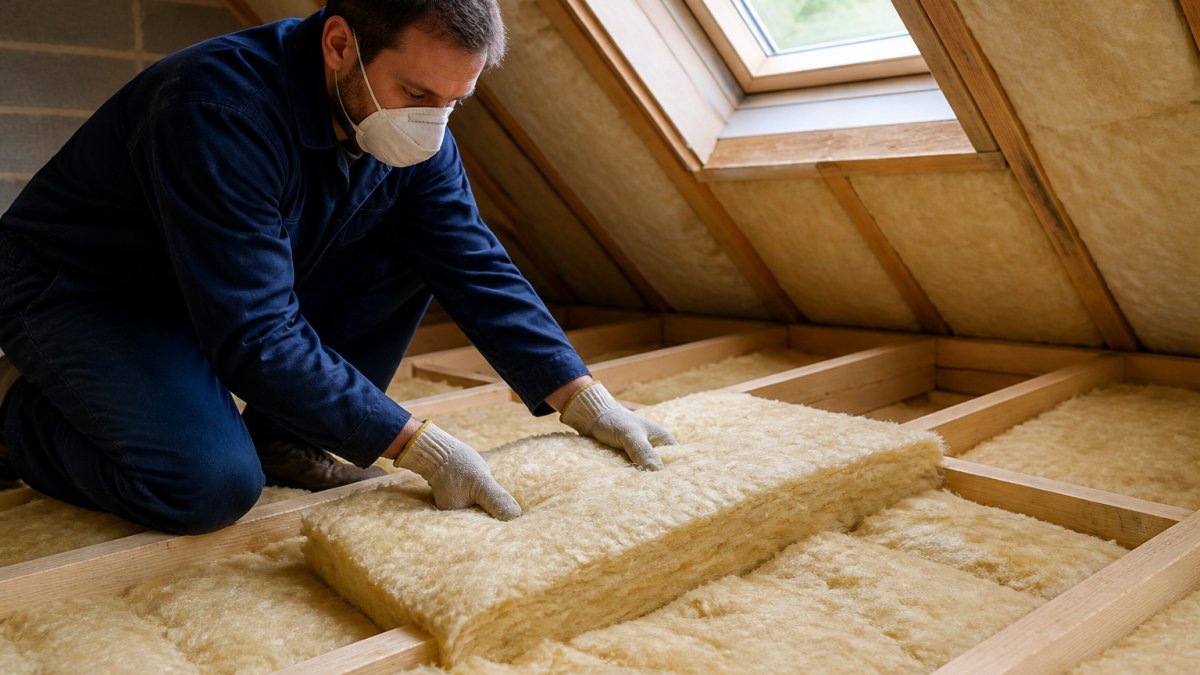
Heat rises, so your loft is where most heat escapes. Loft insulation benefits include lower bills, warmer rooms below, and reduced environmental impact. The difference is often noticeable within weeks.
Most lofts need between 200mm and 270mm of insulation to meet current standards. Check your current depth by measuring existing insulation. If you have less than 100mm, upgrading will deliver clear improvements. If you have 150mm or more, adding a second layer on top is often more cost-effective than removing the old insulation.
Common loft insulation materials include:
- Mineral wool (most common, affordable, fire-resistant)
- Cellulose (recycled material, good performance, slightly more expensive)
- Sheep’s wool (natural, breathable, premium price)
- Rigid foam boards (high performance, suitable for certain loft types)
Installation is straightforward for DIY work if your loft is accessible and safe. Lay insulation between and over the joists to avoid gaps. For complex lofts or if you’re unsure, hire a professional to ensure proper coverage and ventilation.
Loft insulation works best when combined with draught-proofing around the hatch. A sealed, insulated hatch stops warm air escaping even before it reaches the loft space.
Draught-Proofing Doors and Windows
Draught-proofing seals gaps around doors and windows where air leaks in and out. It’s one of the cheapest and quickest improvements you can make. Most draught-proofing materials cost under £20 per door or window.
Door Seals and Letterbox Covers
Door seals stop cold air flowing underneath and around the frame. Self-adhesive foam tape is the easiest option: clean the frame, peel and stick. Brush seals work for larger gaps. Threshold bars fit at the bottom of the door to block draughts from underneath.
Letterboxes are major sources of heat loss. A letterbox cover or flap on the inside reduces draughts significantly. These cost just a few pounds and install in minutes.
Front doors lose more heat than interior doors, so prioritise them first. Check all external doors for gaps, not just the main entrance.
Window Treatments and Secondary Glazing
Heavy curtains and thermal blinds trap warm air near windows. Close them at night and on cold days to reduce heat loss through glass. Blackout linings add extra insulation and block draughts from the sides.
Secondary glazing involves adding a second pane of glass or plastic inside existing windows. This creates an air gap that insulates much better than single glazing. It’s cheaper than replacing windows and works well in older properties.
For temporary improvements, window film creates an insulating layer. It’s transparent, easy to apply, and removable.
Simple Steps You Can Take Now
You don’t need to wait for professional help to start improving home insulation efficiency. Several improvements are quick, cheap, and deliver immediate results.
Start with these actions today:
- Seal gaps around letterboxes and ventilation grilles with foam or plastic covers
- Apply self-adhesive draught-proofing tape around windows and doors
- Close curtains at night to trap warm air
- Insulate exposed hot water pipes with foam sleeves
- Check your loft hatch is sealed and insulated
- Bleed radiators to remove air and improve heat distribution
- Install reflective panels behind radiators to bounce heat into the room
These steps typically cost under £100 total and take a weekend to complete. Many homeowners see a noticeable reduction in bills within the first heating season.
The cheapest improvements are often the quickest. Start with draught-proofing and pipe insulation, then move to larger projects like loft insulation or cavity wall filling.
When to Call a Professional
Some insulation improvements require professional expertise. Know when to bring in specialists:
Call a professional if:
- You’re considering cavity wall insulation (needs surveying first)
- Your loft is difficult to access or has complex layouts
- You want thermal imaging to identify heat loss precisely
- You’re upgrading to secondary glazing or new windows
- You need Gas Safe registered work (boiler-related improvements)
- You’re unsure whether your home is suitable for certain treatments
Major Heat’s Gas Safe registered engineers assess your heating system and can advise on how insulation improvements work with your boiler. Poor insulation forces your boiler to work harder, so fixing it reduces strain on your heating system and extends its life.
Professional assessment costs vary. They’ll identify the most cost-effective improvements for your specific home and budget.
:::pro tip
If you’re planning a boiler replacement, improve insulation first. A more efficient home needs a smaller boiler, which costs less to install and run.
Conclusion
Improving home insulation efficiency is one of the most effective ways to reduce energy costs and increase comfort. Start by identifying where heat escapes, then prioritise the biggest problem areas. Simple draught-proofing and pipe insulation deliver quick wins, while loft and cavity wall insulation offer longer-term benefits.
Major Heat’s Gas Safe registered engineers work with homeowners to ensure heating systems run efficiently in well-insulated homes. Whether you need professional assessment or advice on DIY improvements, our team provides transparent guidance. Contact Major Heat for a free quote and discover how insulation improvements work with your heating system to deliver real savings.
Frequently Asked Questions
How can I make my home insulation more efficient?
Start by identifying heat loss points: check your loft, cavity walls, and around doors and windows. Add loft insulation to at least 270mm thickness, seal draughts with draught-proofing strips, and insulate exposed pipes. Professional surveys can pinpoint exactly where heat escapes. Small improvements compound, even draught-proofing can reduce heat loss by 10-15% in older properties.
Does loft insulation make a noticeable difference?
Yes. Heat rises, so loft insulation is one of the most effective improvements. Upgrading from minimal to 270mm insulation can reduce heating costs significantly. Many homeowners notice warmer rooms and lower energy bills within the first winter. The payback period depends on your current setup, but loft work typically returns its investment within a few years.
How do I reduce draughts around doors and windows?
Use self-adhesive foam tape or rubber seals around door frames and window edges. Add a letterbox cover and brush strip to external doors. Consider heavy curtains or thermal blinds for windows. For older sash windows, secondary glazing is effective but more costly. Start with the cheapest fixes, draughts around doors and windows account for significant heat loss in many homes.
When should I get professional advice before insulating?
Contact a professional if your home has cavity walls and you’re unsure whether they’re already insulated, if you plan major work like loft conversion, or if you suspect damp or structural issues. Gas Safe registered engineers can also assess your heating system’s efficiency alongside insulation improvements. A free survey helps you prioritise work and avoid costly mistakes.